The problem:
The AT&T router is huge and hideous. To make matters worse, we just got a home phone because our cellphone service is pretty much non-existent in this apartment. The phone comes with this back up battery so you can call 911 in an emergency even if your power is out. In theory this is a great idea, and if an emergency does arise, I'm sure I will be thankful for it, but from a design/ organization standpoint it significantly adds to the never ending problem of the first world... cord clutter.
 |
| The Problem: AT&T router, backup battery, home phone, i-phone doc, Roku remote, cord tangle |
 |
| Materials: crapy IKEA $30 side table, perforated sheet metal from Home Depot, white primer spray paint (not pictured) |
Step 1: Put together Ikea table. Ikea had a few side tables that looked like they would work for this purpose. I chose this one because it was A. the cheapest, and B. the most minimal. The sides are bamboo and the top is plastic. I considered not choosing this one because of the plastic top. I try to avoid plastic as much as possible in my home and I am trying to think of a way to cover the top or replace it with something a little nicer.
Step 2: Cut sheet metal to size. This was tricky since the cube is not perfect. I recommend labeling each side and the corresponding panel. This way you can get them really perfect and fit them in exactly where they go. I covered only 3 of the 4 sides in order to easily fit in the router and battery.
Step3: Spray paint metal panels. This is optional, and not necessary if you like the color it comes in. I wanted it white to match the top so I chose white primer with a gloss top coat. Spray painting tips: A. Always use primer. This helps the top coat go on smoothly and maximizes durability. B. Spray in multiple thin coats, waiting for coats to dry between spays. C. Always start and stop the spray stream off the piece. This will produce the most even coat.
Step 4. Attach panels to the inside of the cube. You can use screws, glue, or even tape. I used plain old white artist tape for this. It may not last forever, but I can always replace it with something more durable if it doesn't work. I chose it because it seemed to work fine for my trial run, before painting the panels. It was easy, and you can't see it, so I just used it again.
 |
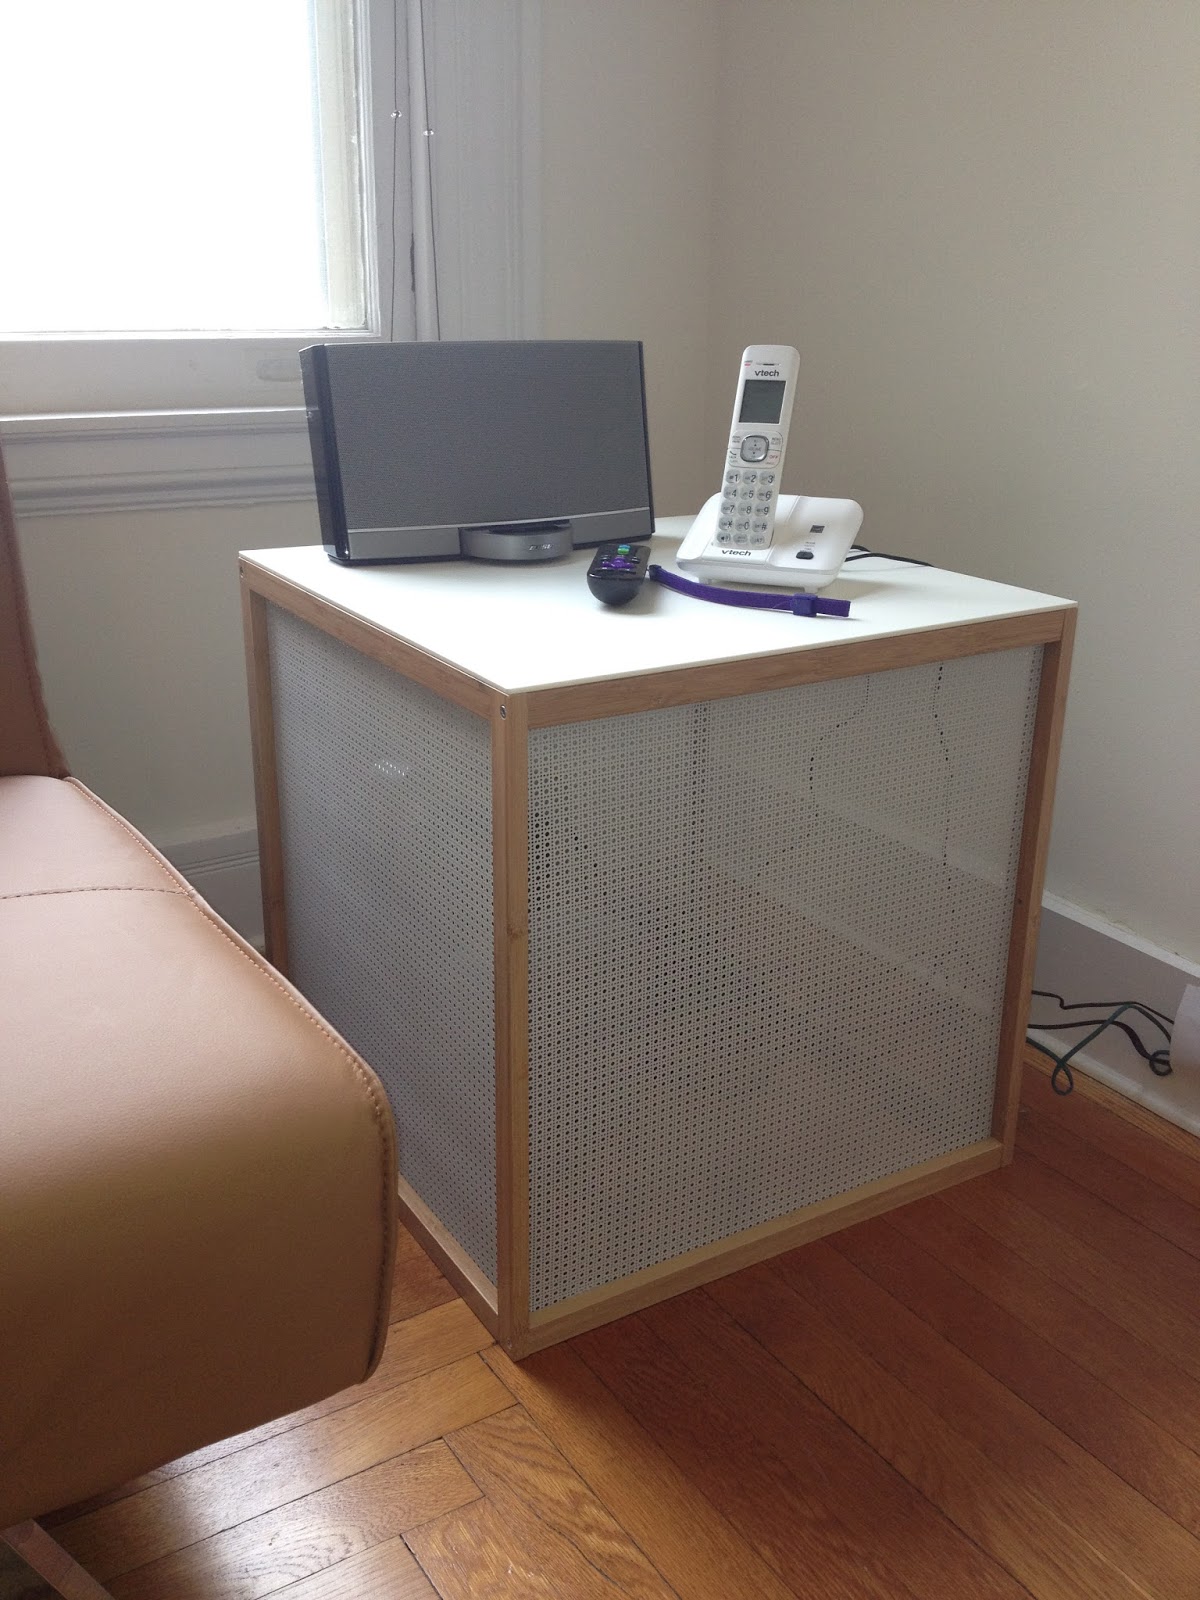
| The final result: useful electronics sit atop the side table while routers and cords are shielded from sight. |